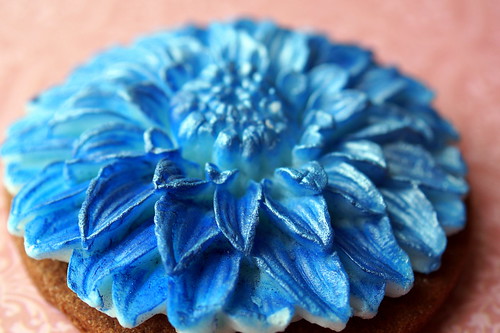
These are the cookies I made with the mould
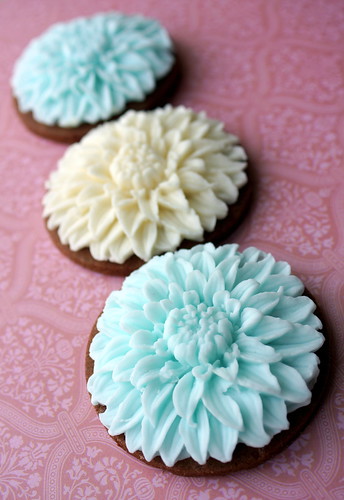
These cookies look so lovely just as they are.
We wouldn't want to over-egg the pudding or gild the Lily now would we?
Well, maybe ...
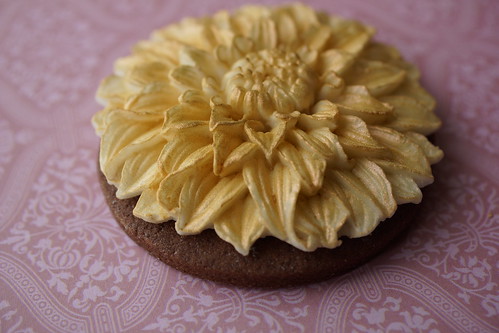
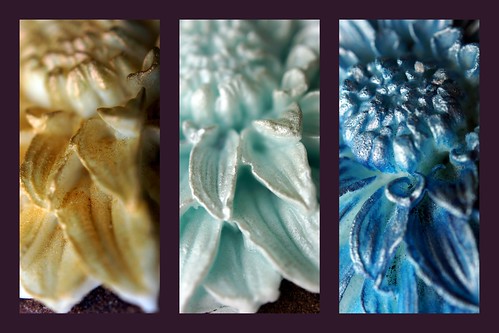
I took the ivory one first and brushed on a little EdAble Art dust in pearlised toffee.
The first Eau du Nil coloured one, I brushed with Squires Kitchen Bridal Satin in Delphinium
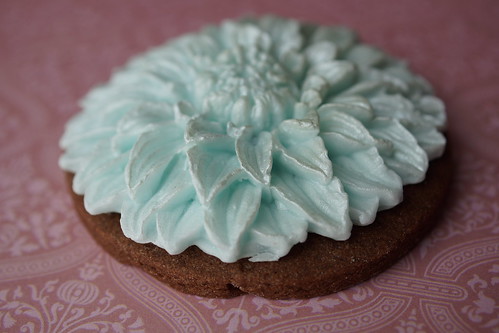
The other Eau du Nil one, I brushed first with a Squires Kitchen Gentian petal dust and then brushed the Bridal Satin in Delphinium over the top
Here they all are together. Look a bit different from before?

I can't make my mind up which colour I like the best.
That's all for today
Thanks for popping by and please call again soon
Keep up with my latest creations and inspirations in all these places
This is how to use the moulds to make the cookies. All you need is
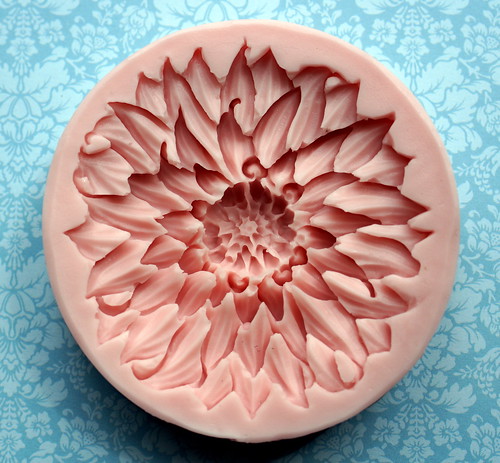
Sunflower Sugar Art Dahlia mould (or a similar one)
Sugar paste / Fondant coloured however you fancy
A little vegetable fat (Trex)
A little vegetable fat (Trex)
Round cookie cutter about the same size as the mould
Batch of sugar cookies cut with the round cutter
Petal dust / luster dust if you want to use it and a paint brush.
I coloured some shop bought sugar paste in ivory and in teal, then set about moulding my flowers. This is quite a large mould so I used the freezing method, I am not sure whether the manufacturers recommend that we should put their mould in the freezer, but, it works for me.
Rub a little vegetable fat between your palms to help stop the sugar paste sticking to the mould.
Roll the sugar paste into a ball a little smaller than a golf ball and then flatten it and push it into the mould. Push down quite hard with the heel or palm of your hand to get the sugar paste into all the nooks and crannies.
You will either have too much or not quite enough sugar paste in your mould
Too much - You need to level off the top by sliding either your finger, a palette knife, a cocktail stick or anything else you have handy that you think might work across the top of the mould. (Be careful not to but the mould with anything sharp, or yourself)
Not enough - add a small ball into the middle and press it down.
When you have the right amount of paste use your finger to polish around and tidy up all the edges so that the edges are smooth and tidy.
Pop the mould in the freezer for around 20 minutes or if you are like me, till you remember it is there. Mine sometimes get left overnight ...
Push the flower out by gently flexing the mould at the edges. This should pop out quite easily, if the paste still seems stretchy pop it back in the freezer for a bit longer.
This is the moulded flower. Beautiful.
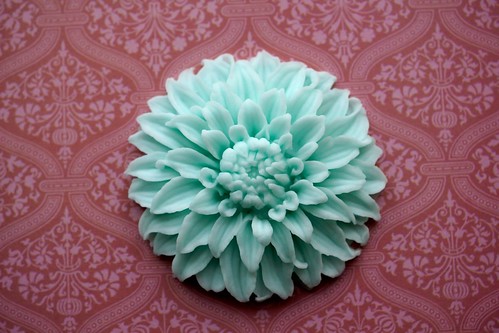
It is best to leave these out to dry overnight, before you continue as they can be a bit sticky as they warm up from the freezer. I usually dry them on a baking / cookie sheet with baking paper on top so that it doesn't stick.
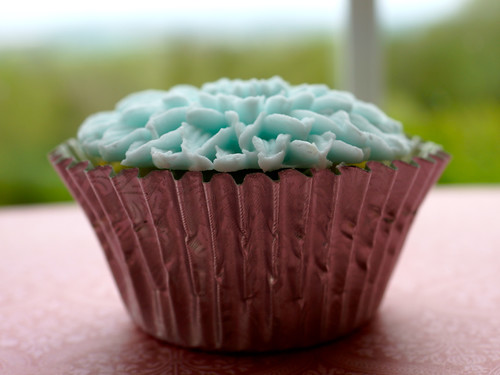
All you need to do then, is stick these on to a cookie using edible glue or piping gel. I stuck mine onto chocolate sugar cookies about the same size as the mould. The mould is about the same size as a cupcake and they look lovely there too.
No comments:
Post a Comment