Sunday 25 November 2012

Blue Bow and Bird Glamorous Brownie


One of the things that I quickly discovered during my time is Sugarland, is that somethings that look easy are really, really hard (piping royal icing and the dreaded Gilding would come to mind here) and some things that look hard are actually easy to do.

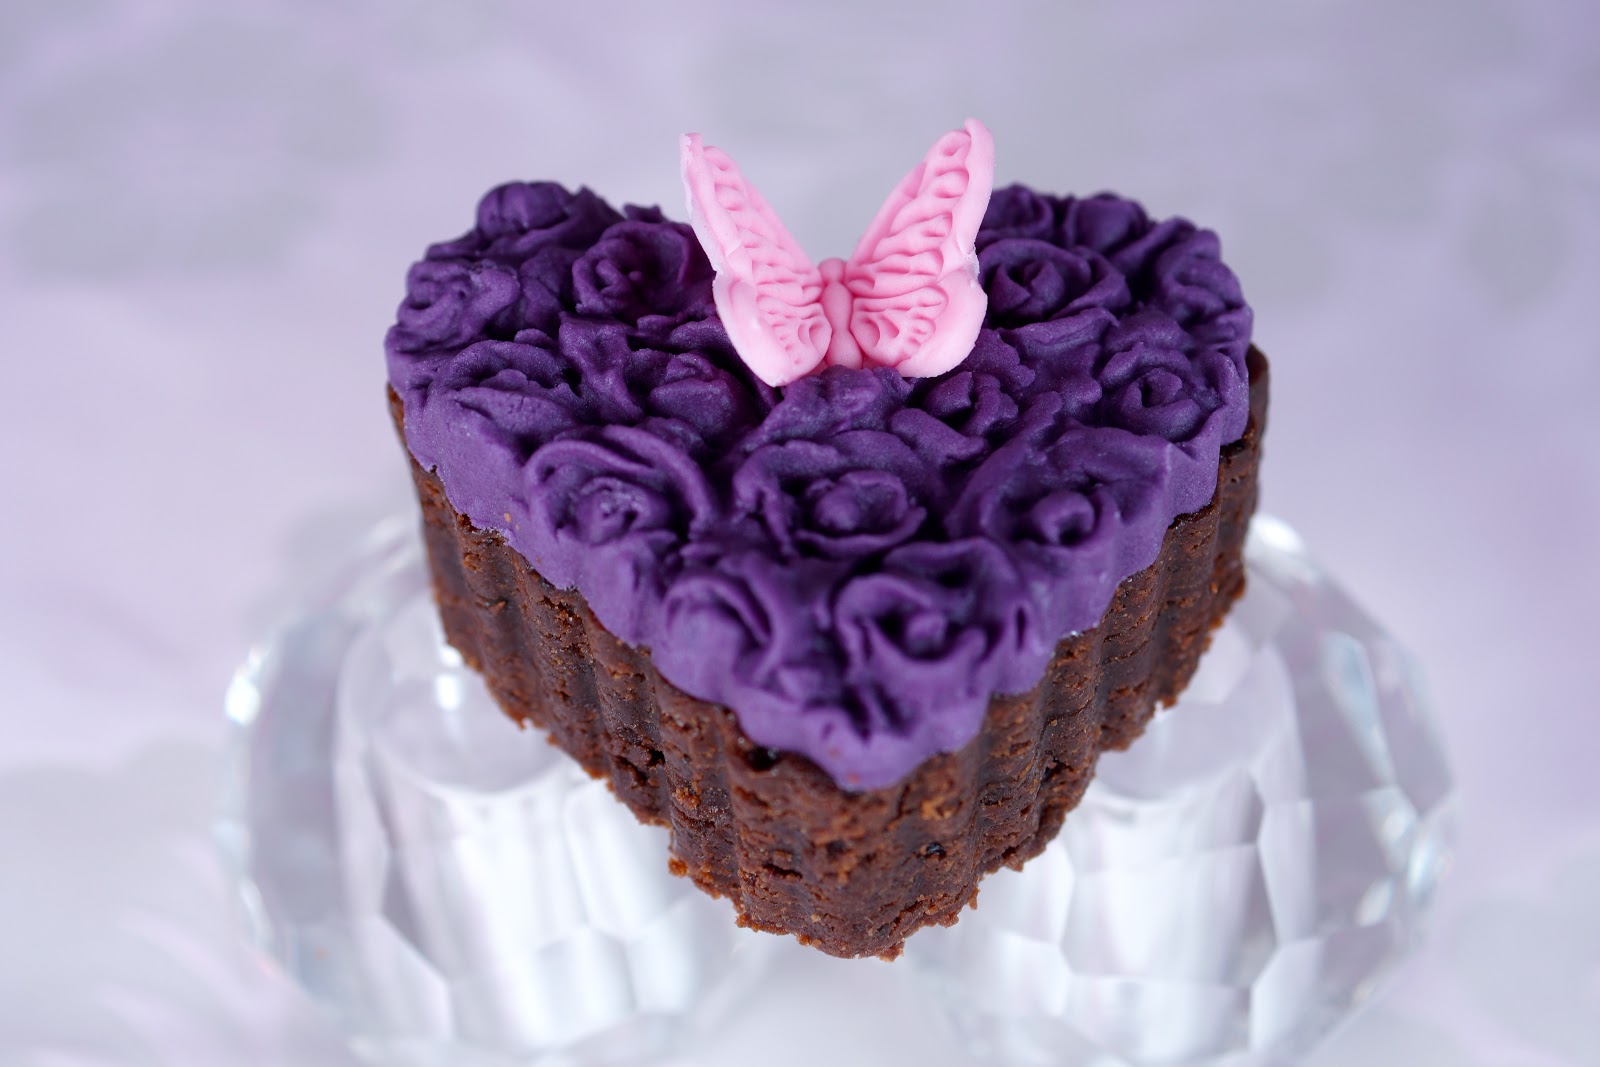
I am happy to say that the ruffle technique used for these brownies is much, much easier than it looks and you hardly need any equipment to do it. Given the season, these would make wonderful little gift Christmas cakes if you cut them out of a sheet of fruit cake rather than chocolate brownies.


To make these, you need to start by baking a batch of brownies in a square or rectangular pan. This is the recipe that I use from the Hummingbird Bakery cookbook. I love this recipe, as all you have to do is melt the butter and the chocolate together and then stir in all the other ingredients.

To Decorate and Assemble

Equipment

You need a whole stack of equipment to make these little brownies (not) all you need is:

A round cutter a bit like this (Use this to cut out your brownies too)

A bird mould ( I used Wilton's nature mould)
A meter or two of blue ribbon
Cocktails sticks

You will also need

White modelling chocolate, cocoform or fondant
A little edible glue (optional)
Ivory lustre (Sugarflair)


The Ruffles

I found out how to make the ruffles from this tutorial from the lovely Jessica Harris. She can explain it to you much better than I can so pop over and take a look. Looking back at her tutorial now, I realise that I should have rolled my modelling chocolate a little thinner (will do that next time). I also managed to get away without  the resting firming up stage.
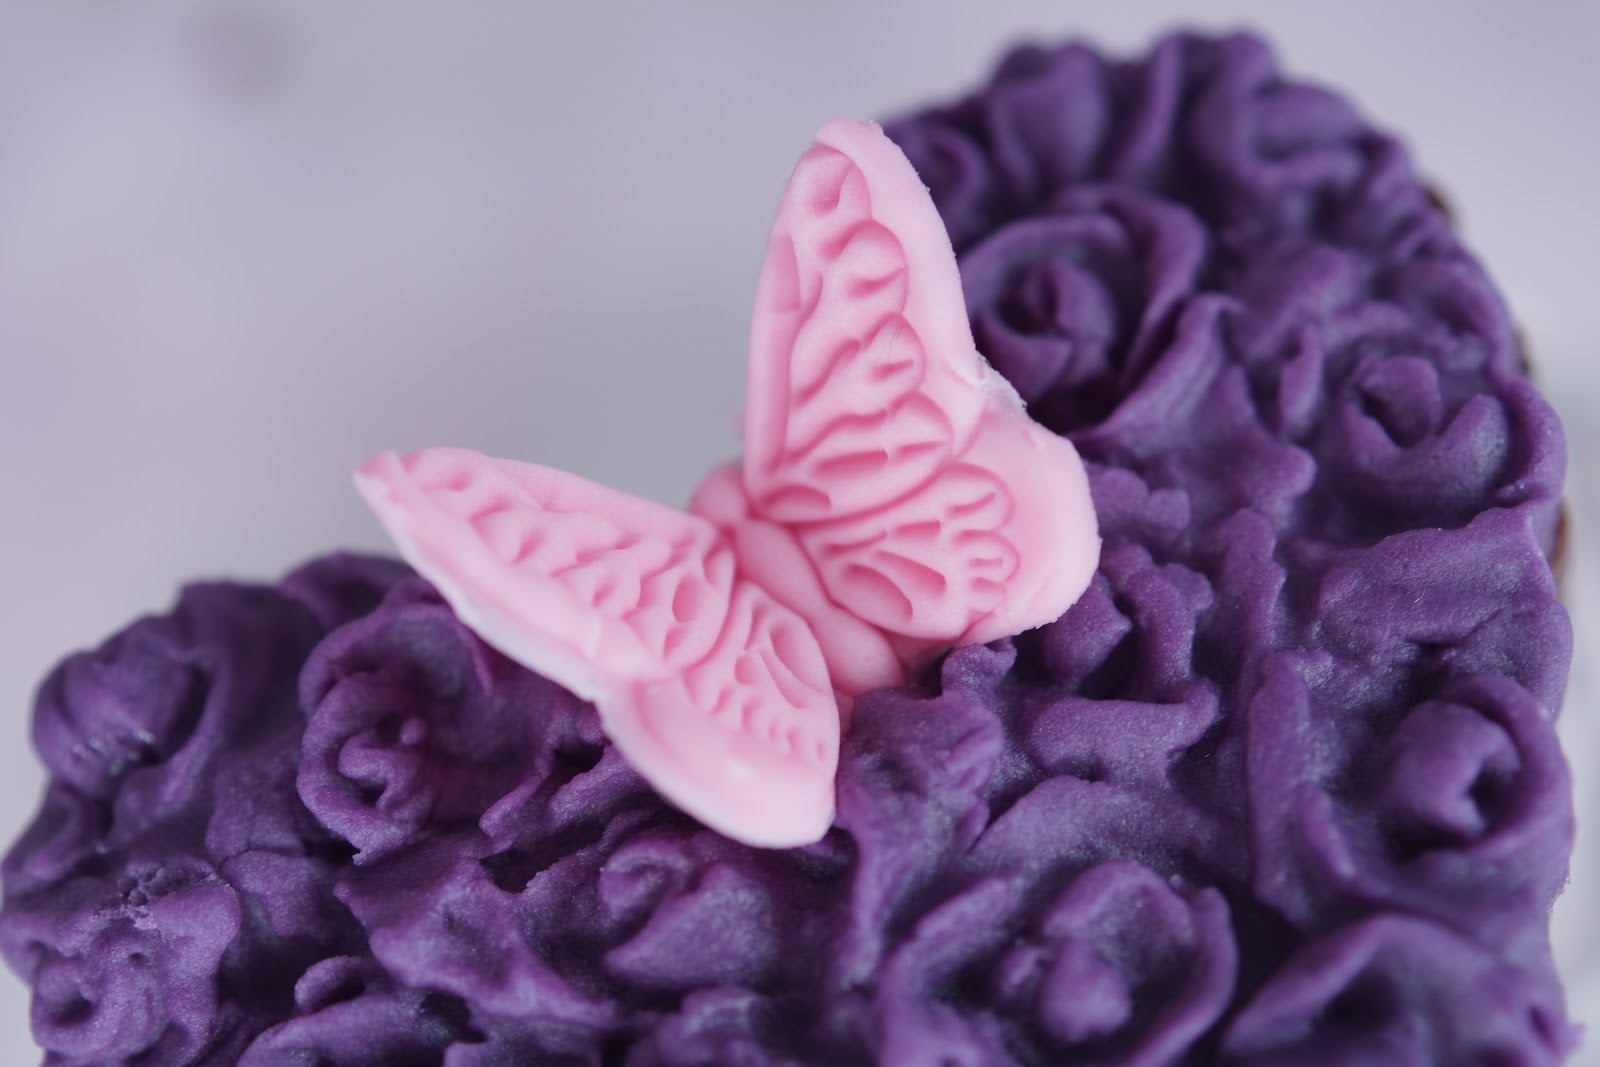
The Birds

The bird is made the same way as the one I made for these Pink Peppermint Cupcakes. Once moulded gently twist and wriggle a cocktail stick into the bottom of the mould before leaving to dry. 


The bows

You know how I was saying that some things are easier than they look and others much harder, well, tying a teeny tiny bow is much harder than it looks. It is a good idea to carefully remove your moulded bird from the cocktail stick if you can, then, you need to start with a fairly long length of ribbon to tie your bow. Start by tying a single or double knot on your cocktail stick and then tie your bow, neaten it up and trim the ends off.

If you turn your cocktail stick around, you will probably find the back of the bow looks neater than the front. Place your bird back on to the cocktail stick, dipping the end of the cocktail stick in a little edible glue first if you want. If you don't use edible glue, you will find that gravity will mostly keep the little bird in place anyway.


Assembly

I decided to stack two brownies on top of each other for this design for a bit of extra height. I sandwiched them together with a cut out fluted circle between the layers, for a bit of stability and interest. Once stacked fold attach and arrange your ruffles and then carefully push the toothpick into the centre.

Always remember to let anyone you give these to know that there is a toothpick underneath the bird that they should remove before eating the brownie, because you know, you can never be too careful about these things.


That's all for today
Thanks for popping by and please call again soon

Keep up with my latest creations and inspirations in all these places

Follow Me on Pinterest


Sunday 18 November 2012

John's Coconut and Chocolate Cake and Leftover Bow Cupcakes


Well, you may be thinking that pink is a funny colour for John's cake. You would think so even more if you met John the builder. John the Builder's favourite cake is coconut cake and this cake was made as a thank you when he (eventually...) finished some work he was doing in our garden for us. I asked my four year old what colour he thought John would like for his cake and his reply was "black", I wasn't doing black on this particular day, so I asked him to chose another colour and he decided that John would like pink. There may also have been an incident involving my car and a certain builder's van ... that contributed to the pinkness.


This is a little 3 tier 6 " cake, made using a four egg recipe. My eggs were so large, I could have got away with using three, as it was, I used four and used the leftover batter for the bow cupcakes below. The traditional way to flavour a coconut cake is to add about 25g or 1 oz of desiccated coconut per egg. I didn't want the cake to be too crunchy, so I added about 10 g 1/2 oz coconut per egg and a teaspoon of coconut flavouring.

Recipe

Ingredients
4 eggs (Ideally these will weigh about 200g or 8 oz) Weigh these in their shells, then weigh out the same weight of
Butter or margarine
Caster Sugar
Self raising flour
40g / 2 oz desiccated coconut
1 teaspoon coconut flavouring (optional)

Prepare your tins and switch the over on to 350 F, 180 C or 165 C fan. You will get away with making this cake by tipping it all into your mixer and mixing until just mixed. If you prefer, make it the traditional way:

1. Cream the butter and sugar until pale in colour and fluffy looking.
2. Add the coconut flavouring if using
3. Add the eggs one at a time with a tablespoon of flour and beat until well mixed
4. Add the flour, mixing until just incorporated and then fold in the desiccated coconut

Divide the mixture between your tins. You only want the tins to be about half full, any leftover batter can be spooned into cupcake cases. Bake the cake for about 20 to 25 minutes, about 15 for the cupcakes. The cake is cooked when it springs back when pressed light on the top.

There is a lot of debate about what makes a cupcake have a flat top or a domed top and there are lots of factors that can make a difference. The main one is how much mixture you put in the case. I filled these cases barely half full as I wanted them to be flat and have room to poor some chocolate fudge icing on the top.


The Chocolate Fudge Icing
I used a half quantity of the chocolate fudge icing used to make my Dark Chocolate Rose Cake using milk rather than dark chocolate.


John's cake is filled with the chocolate fudge icing and I used it to pipe the shell border as a hint as to what was inside.

If you are making leftover cupcakes as well, you will need to spoon the chocolate icing into the cupcake cases whilst it is still runny.


Coconut Buttercream

I wasn't in the mood for making a 7 minute or marshmallow style icing as would traditionally be prepared to ice a coconut take, so I cheated by adding some marshmallow fluff to some regular buttercream. This is in no way similar to a marshmallow icing, but it does give the buttercream a little something extra. I started with equal quantities of butter and icing sugar and when they were well mixed, mixed in about half a jar of marshmallow fluff. Add a teaspoon of coconut flavouring as well, if you have it.

Ingredients
250g / 8oz softened unsalted butter
250g / 80z icing / confectioners sugar
Half a jar of marshmallow fluff
1 teaspoon coconut flavouring (Beau)
Gel past colour a little violet and pink (Claret) (Sugarflair)

Beat the butter till really soft. I like to add my colouring at this stage. Pale pink is a difficult colour to achieve when your butter is yellow, so you need to cancel out the yellow in the butter. You can do this by adding a little violet food colour. When the butter turns an unpleasant shade of sludge you are ready to add the pink a little at a time until you achieve the colour you want. Add the teaspoon of coconut flavouring and then add the icing sugar one third at a time, beating well after each addition. Level and assemble the cakes and brush away any crumbs before smoothing on the icing with a palette knife. I never bother with a crumb coat unless the cake is for a very special occasion.

I sprinkled the top with a little desiccated coconut to give a hint as to what was inside the cake Pipe the shell borders with a Wilton 32 nozzle.


Cupcake Decoration

These little ribbons are made with a ribbon cutter from the JEM small ribbon set. I used a size 2 and dusted them with a little lustre dust to give them that ribbony shine. Leave them to dry and harden a bit before adding to the cupcakes once the chocolate dude icing has set.


Thanks for popping by, please call back soon

Find out about my latest creations and keep in touch at these places


Follow Me on Pinterest


thesugarmice.tumblr.com


Sunday 4 November 2012

Butterfly Brownie - A new glamorous brownie design


You know, I had no intention of making these, they weren't some long thought out and planned design that I'd had in my head for ages and agonised over getting just right, these just sort of happened on their own, when I was practising making some butterflies and just happened to have a tray of brownies nearby.

After making these butterflies, I decided that they were too small and made some bigger ones and then decided that the bigger ones were too big and reverted to using these ickle bitty ones. The butterflies need to have a day to harden so that their wings can set and it is a good idea to bake the brownies a day before you stamp them out, so that they cut better.


Making and Cutting the Brownies
I always use this recipe from the Hummingbird Bakery cookbook for making any brownies that I want to stamp out shapes from. It make a deliciously dark, fudge dense brownie that cuts out easily without too many crumbs. It is best if you leave it for about 24 hours before cutting out the shapes and if you the weather is warm, you may want to put it in the fridge for 30 minutes or so before cutting.

I find i get better result if I turn the slab of brownies brownies upside down before cutting them out. Remember as well, before cutting, to check that the cutter you are going to use is a good size for whatever mould you are using for the fondant. (see below for the equipment I used)


Making the Butterflies

What you need
Butterfly Cutter / Embosser (Patchwork cutters)
Pink petal or gum paste
Sugarcraft cutter or cutting wheel
A little vegetable fat (trex)
Piece of stiff cardboard and greaseproof paper
A little edible glue or piping gel to attach it later

The butterflies are cut out using a butterfly cutter from the Patchwork Cutters Butterflies, Ladubirds and Bees set. When I bought these the man in the shop said to me that these are not cutters - they are embossers and this is partly true. If you roll out your gum paste really thin, the patchwork cutter will cut through the paste, in practice I find my paste is usually part cut, the cutters are good value for money and I like the effect they give, so I think they are worth a little extra effort.


1. Grease your board with a little vegetable fat to  prevent the paste form sticking (Or use cornflour if you prefer)

2. Roll out your petal or gum paste really thin. I use the 9" rolling pin from Wilton with the pink guides attached.

3. Use the patchwork cutter to emboss / cut the sugar paste. This is one of the medium sized butterflies from the kit


4. If the cutter hasn't cut all the way through the sugar paste, use a cutter or cutting wheel to cut out the shape.

5. Gently lift each side of the butterflies wing from the outside inwards to release from board


6. Fold the cardboard into a V shape and line with greaseproof paper.

7. Carefully lift the butterflies and gently lay them onto the V shape. Make a few more that you need, as the chances are, one will break somewhere along the way


Moulding the Fondant

What you need
Purple sugarpaste or fondant (Amethyst Regalice by Renshaws)
Piped roses mould (Karen Davies)
A little trex
A cookie cutter that works with the mould you are using

Moulding is one of those things, where some days your luck is in and other days, not so much. Today was a good day for me and even using plain fondant (rather than modelling or gum paste) these just popped right out of the moulds for me. It was rather cool in my kitchen, so that probably helped. If you are not having such a good day, then check out Karen's moulding video here for some tips. If all else fails and you don't have, or want to use lustre or modelling paste, just pop the mould with the fondant in it into the freezer for about 15 minutes. It is then guaranteed to pop right out, you will though need to leave it for about a day to thaw and dry out a bit afterwards.

1. Make a ball of fondant a bit bigger than a walnut and need it a little till smooth

2. Rub a little vegetable fat between your palms

3. Roll the fondant ball between your palms so that it is lightly coated in the vegetable fat to stop it sticking

4. Turn the mould over and flex the mould to pop the moulded fondant out


5. Use the same cookie cutter you used to cut out the brownies to cut the moulded fondant to the shape.


Finally assemble all your bits together. Start with the brownie bottom side up, spread with a little edible glue or piping gel and gently press the moulded fondant on top. Finally attach the butterfly. You kind of need to push his or her little bottom into the fondant to get then to sit at a nice angle.

Happy Baking and Decorating!


That's all for today
Thanks for popping by and please call again soon

Keep up with my latest creations and inspirations in all these places

Follow Me on Pinterest