
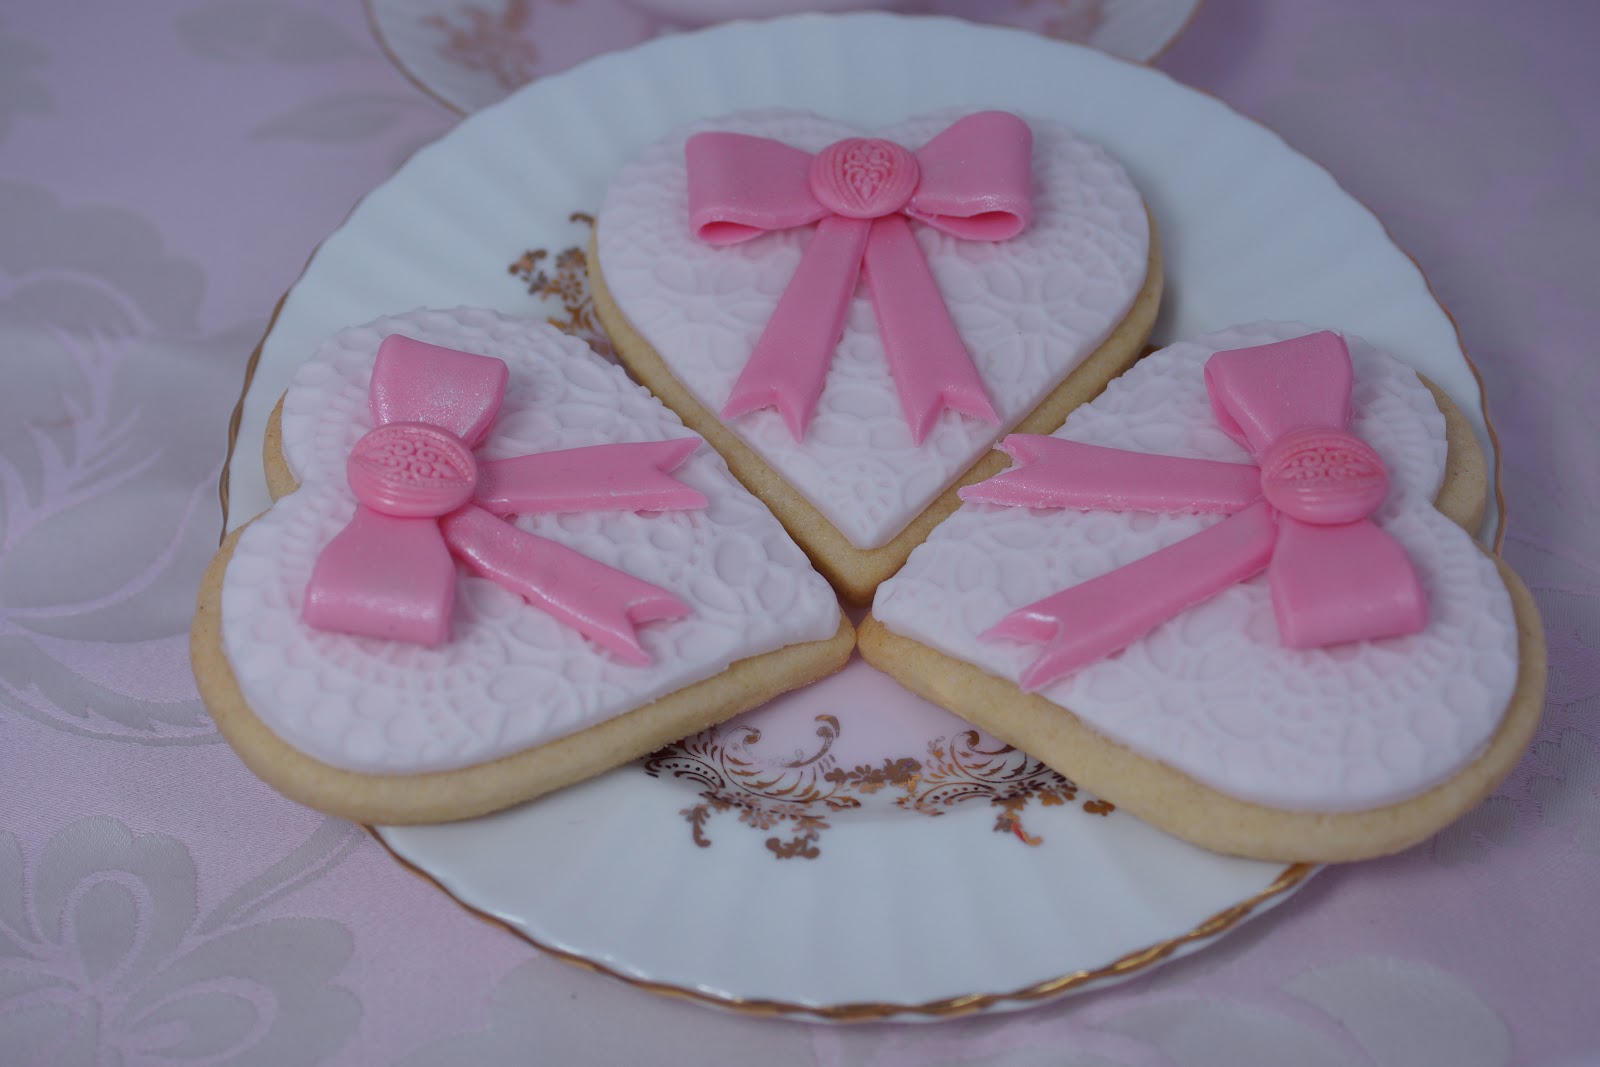
I was in the mood for making something pretty and deliciously pink, I had just baked a batch of heart shaped vanilla sugar cookies and this decoration just fitted my mood.

The Cookies
 To bake the cookies use my basic sugar cookie recipe, but, add a teaspoon of vanilla bean paste, good quality vanilla extract or the seeds from a vanilla pod to the butter and sugar when you cream them together. Alternately you can make vanilla sugar by putting some caster or superfine sugar in a jar with a vanilla pod, leaving the flavour to infuse and giving the jar a good shake every now and then. A week or so should be long enough and when you use some of the sugar, you can replace it with fresh sugar. I cut these out using a heart cutter from the Wilton "From the Heart" set to cut these out.
I love cakes and cupcakes that have been decorated with bows, when I read the instructions about how to make the bows, I feel like I don't quite have the time (or maybe the patience) to be measuring out strips of fondant or making a template to make them. I came across a JEM bow cutter set in my local sugar craft shop and thought that this might be just the time saving ticket.
Decoration
Equipment and materials for decoration
 Shell pink sugar paste or fondant (I used a ready coloured one by Regalice)
Pink petal or sugar flower paste. (This one is the Squires Kitchen in Pale Pink)
Small rolling pin with spacers (This one is from Wilton)
Bow Cutter (From JEM Large Set, sized 4 to 6)
Button Mould (First Impressions Button Set 2)
Lustre Dust (This is Pearl white form Sugarflair)
Lace embossing mat (I used this Original Sugarveil mat as an embossing mat).
A little confectioners glaze (optional)
By the way, never buy confectioners glaze without also buying some cleaning solution or dipping solution to clean your brush with.
A little confectioners glaze (optional)
By the way, never buy confectioners glaze without also buying some cleaning solution or dipping solution to clean your brush with.
How to Decorate
Start by making the fondant lace.
 Roll out a small amount of the shell pink sugar paste until fairly thin, then place on top of your embossing mat and roll with the spacers on the mat, a little more, until an even thickness
 Carefully flip the sugar paste over and then cut out the fondant using the same cutters that you used for cutting your cookies.
Look down the centre of the cookie cutter before you cut to make sure you get a nice even look to your lace.
Carefully lift the cut out fondant and place on top of the cookies. You can use a little edible glue or icing gel to help it stick if necessary. (You can usually get away with nothing or a bit of water if you don't have any)
 Next make the bows (Sorry I forgot to take any pictures of this bit)
Take a small handful of the petal paste and knead until it feels pliable and stretchy. If it feels a little dry or powdery, add a pea sized mount of vegetable fat (Trex) and knead this in.
Roll out the pink sugar flower or petal paste thinly. The pink spacers on my Wilton rolling pin gave just about the right thickness for this.
Place the bow cutter over the top (i used the size 4 from the large bow cutter set) and press down to cut. Give the cutter a little wiggle whilst pressing to neaten up the cut edges.
Lift the cutter, if necessary tidy up the edges with your fingers or a sugar craft ball tool, peel away the excess petal paste and make the cut pieces into a bow shape.
I was lucky and my bow loops stayed nicely rounded and in place. If they look like they want to collapse, then you can support them, whilst they dry, with some scrunched up kitchen towel
Brush the bows with lustre dust to give them a shiny ribbony look.
Brush the bows with lustre dust to give them a shiny ribbony look.

Finally the buttons
 Take a very small amount of the pale pink paste and knead as above. Press firmly into your button mould and rub your finger around the top to get a nice smooth finish.
I painted my buttons with confectioners glaze to get nice shiny button like finish.
What would I do differently next time?
I would probably use a different colour lustre dust as the white looked a bit white in places, I find it hard to find a pale pink luster dust that I like. Most pink luster dusts, that I try are a darker pink than i want.
I might also make try the button a different colour, I wanted more of a contrast in the textures between the button and the bow really.
That's all for today
Thanks for popping by and please call again soon
Keep up with my latest creations and inspirations in all these places


