These delicious cupcakes are iced with a coconut and lime butter cream, made with a
naturally flavoured coconut and lime icing sugar from
Sugar and Crumbs and were inspired by the Coco Loco cocktail. When sugar and crumbs were looking for bloggers to test their sugars and cocoa powders, who could resist volunteering? Not me! I volunteered and the lovely people at sugar and crumbs sent me three samples to try and this is the first.
When I heard that I was going to get the
coconut and lime naturally flavoured icing sugar to try (thank you so, so much!) and was thinking about what to make, the though of coconut and pina colada's entered my head, this may or may not have something to do with the fact that the pina colada was my bedtime drink of choice on a recent trip to Cocoa Beach in Florida, (so wrong and yet so right).
I love a Pina Colada, but, you know how when it is cocktail time and you really want to have a pina colada, because they are the most unctuously scrummy cocktail, but, somehow a pina colada doesn't seem sophisticated enough, so, you end up ordering a margarita or a mojito instead, which is still yummy, but not in the dizzy heights way of a pina colada? This got me thinking how good would a coconut and lime cocktail be? Would the lime lend the coconut a little sophistication? And that is when I discovered the coco loco cocktail. A blend of rum, coconut and lime. I'm leaving the rum out today and letting that icing sugar do most of the work for me.
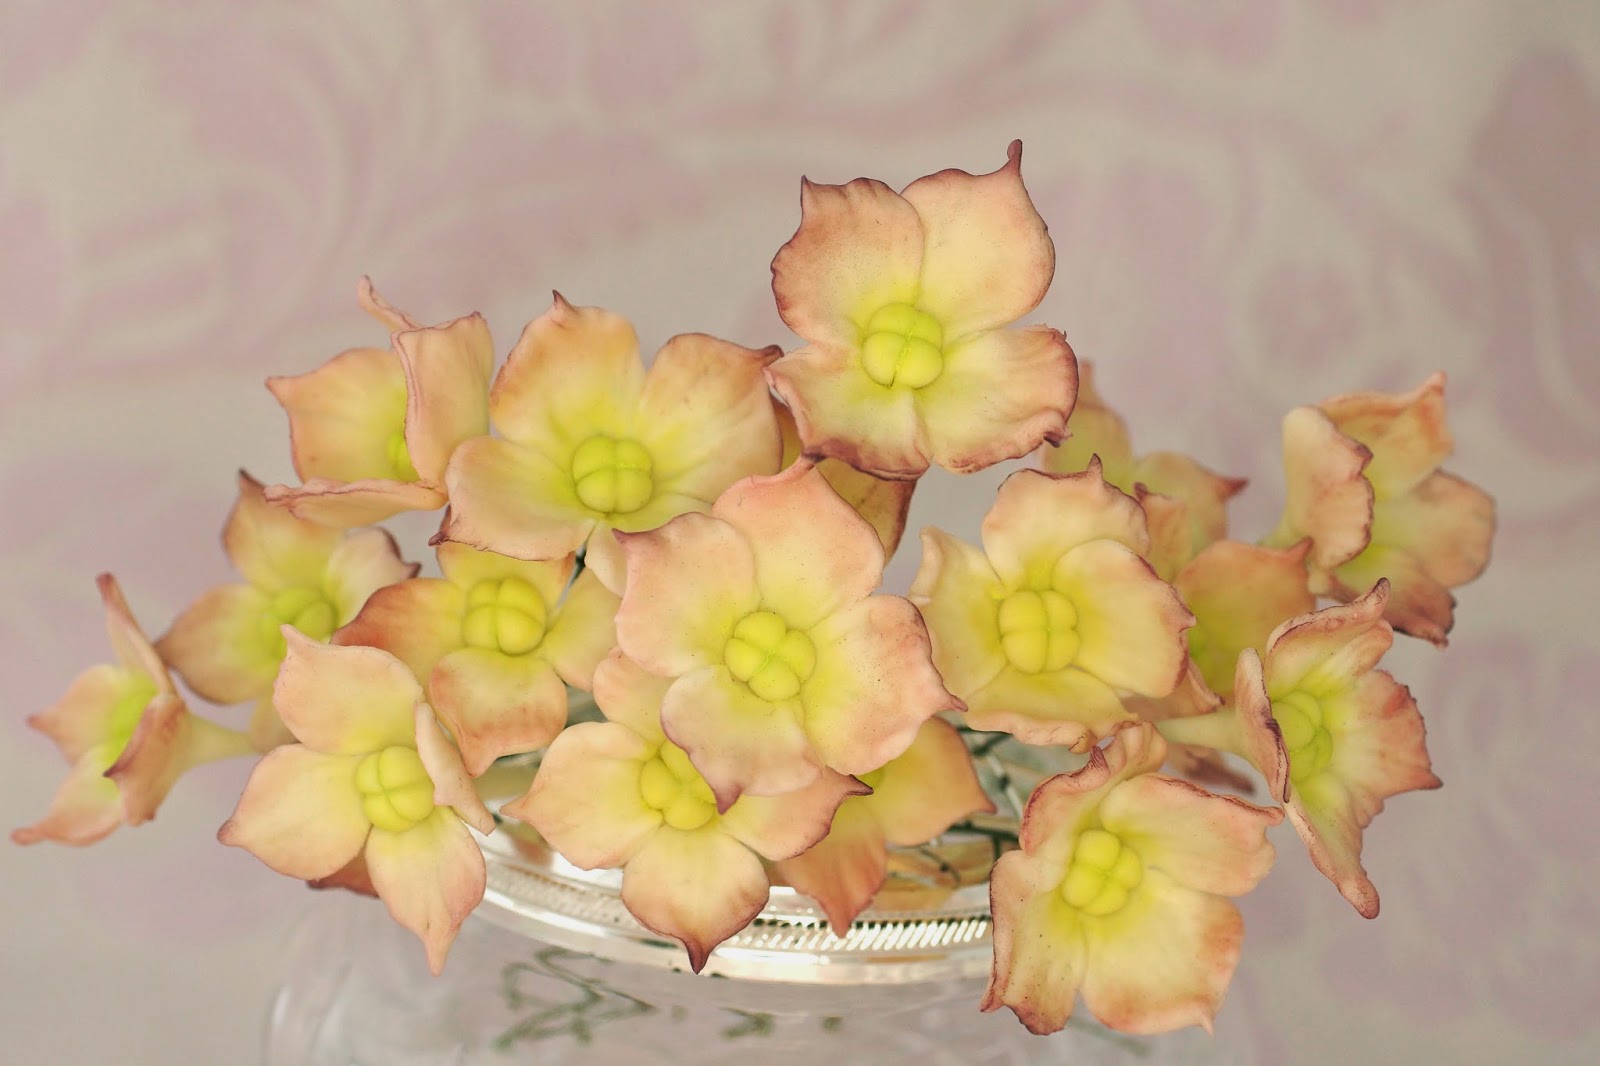
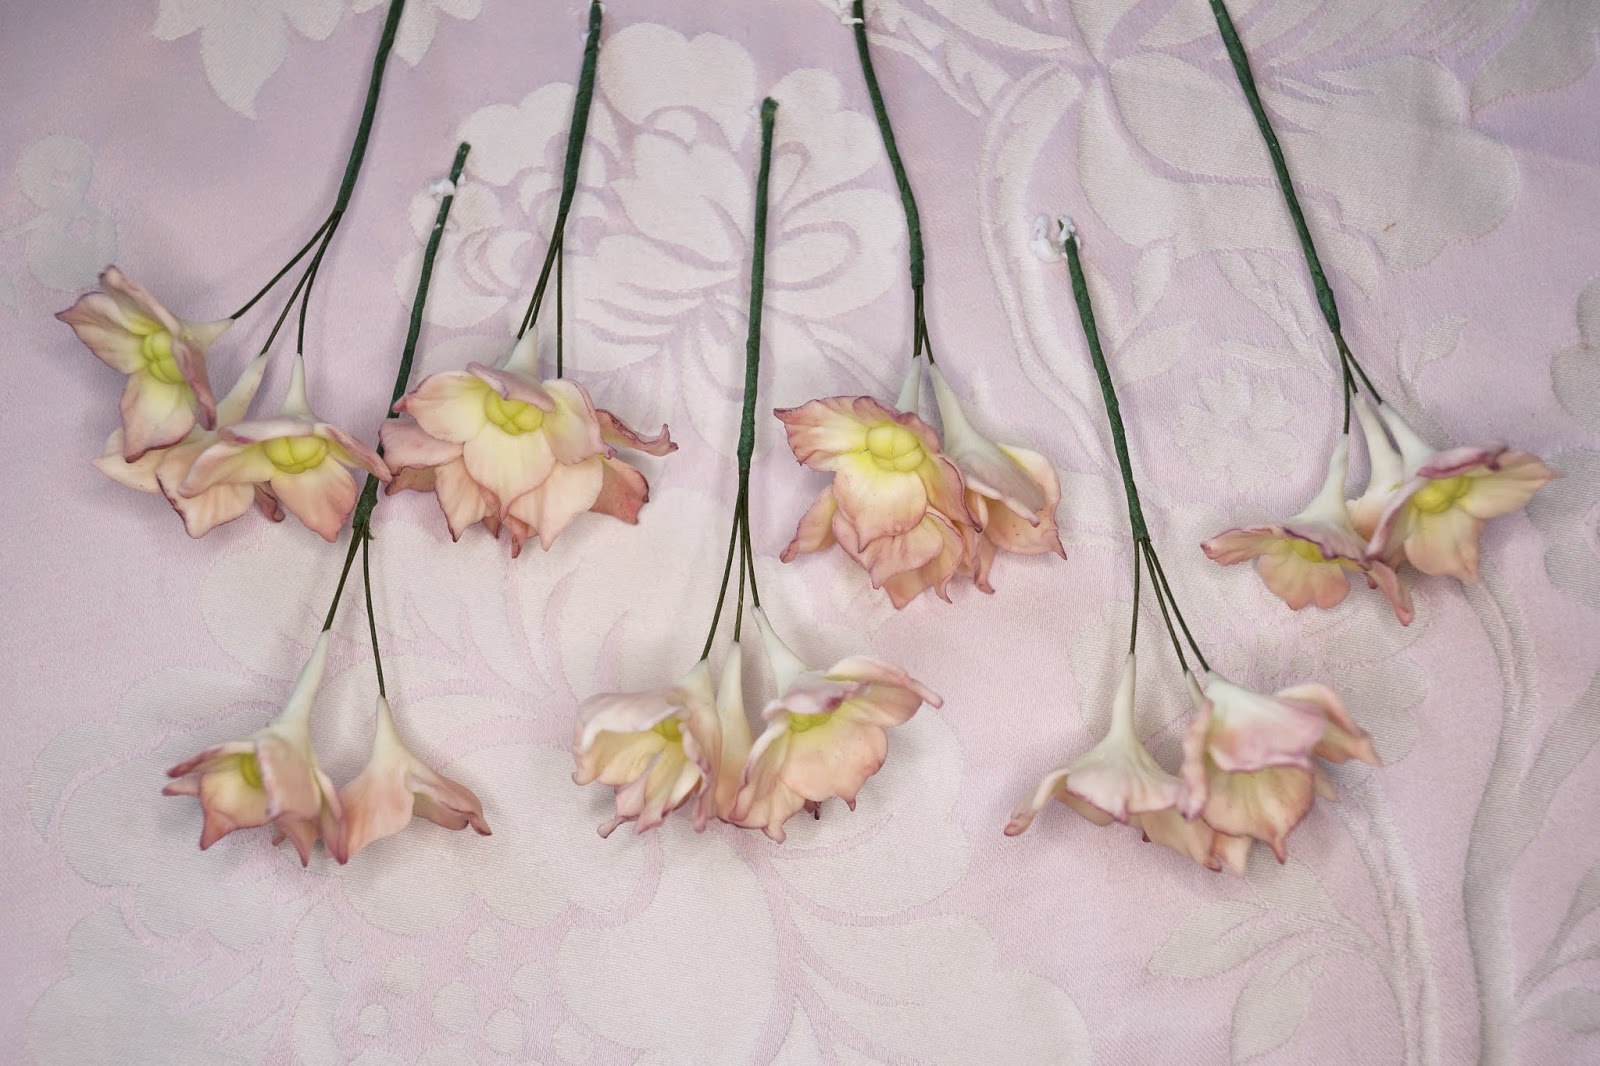
Recipes for these cakes and butter cream, follow below then next time, I will share how I made the decorations.
So, what do these taste like? Amazing. The flavour is definitely coconut and definitely lime, well flavoured and not too strong. This was always going to be a sure fire winner for me, because I love coconut so much. My son and husband who claim not too like coconut enjoyed these too and my other taste testers all declared them smooth, creamy and super yummyily coconutty.
You can tell from the texture of the butter cream (no grainy-ness) that this icing sugar is a good, quality product and it pipes nicely too. One of the benefits of using a flavoured icing sugar, is that you can rely on it to give a good consistent flavour, so there is no worrying about how much of the different flavourings to add.

Is it good value for money? At the time of writing, a 250g bag is £2.99 and 500g bag is £4.99, which is not a lot of money compared to many things and about three times the price of an unflavoured bag of icing sugar. In their
recipes Sugar and Crumbs do mention that, because the icing sugar has a strong flavour, you can use half their flavoured sugar and half ordinary icing sugar, you will, of course, get a more delicate flavour. We all have different circumstances, I am a Mum to a young son, working 35 hours a week at my day job, so convenience comes pretty high on my list of priorities, baking and blogging is squeezed into my "free time", so for me, not having to zest a couple of limes, or squeeze ;o) a coconut, or even start a batch again because the flavours are not right, not balanced correctly, or too strong, is worth paying a pound or two more for. If you have ever over salted a salted caramel butter cream, you'll know where I am coming from.
I was lucky to get these samples from
Sugar and Crumbs for free, having browsed the flavours, I think I could well become one of their regular customers - Banana Split or Cherry Bakewell anyone? I have two more samples to try, come back soon to find out what they are, or follow me at any or all of the places at the bottom of this post.
If you do pop over to sugar and crumbs, don't forget to say Hi and let them know I sent you.
Coconut Cupcakes Recipe
Ingredients
120g plain (all purpose) flour
140g caster sugar
1 1/2 teaspoons baking powder
40g softened butter or margarine
120ml coconut milk
1 egg
Preheat your oven to 170 C / 325 F. (I set my fan oven to 155 C) and lay out your cupcake cases ready. These lovely ivory baking cases are from
Culpitt. This recipe will usually make nine to twelve cupcakes.
I am using a crumb method to make these coconut cupcakes, this freaked me out a bit the first time I used it, so I have I have shown the steps below, so you will know what to expect at each stage.
Method
Step One
Put the 120g plain flour, 140g caster sugar, 1 1/2 teaspoons of baking powder and 40g of butter or margarine into the bowl of a stand mixer.
Step Two
Using the "K" beater, mix on a slow speed until the mixture becomes crumby.
Step Three
Put the 120ml of coconut milk and the egg into a jug or cup and mix together to break the egg up. With the mixer running on a slow speed, slowly pour the coconut milk and egg down the side of the bowl, until the mixture just changes from looking dry to looking wet.
Step Four
The "just wet" mix will probably look a bit lumpy, turn your mixer to a higher speed for a 20 or 30 seconds or so, to smooth out the cake batter and get rid of those lumps. Don't mix for too long though, or you will over work the flour and your cupcakes won't be nice and light and fluffy.
Step Five
With the mixer running on slow speed again, pour the rest of the coconut and egg mixture down the side of the bowl. You should now have a lovely smooth glossy cake batter.
Step Six
Divide the batter between your cupcake cases. I like to use an ice cream scoop to get them all the same size. This scoop is a size 16, which means if you have a litre of ice cream, you would get 16 scoops out of your litre. Next time I make these, I might put more mixture in each baking case, the size 16 was perfect for the flat fondant topped cupcakes, a little more would have been good for the butter cream swirl cupcakes.
Step Seven
Put them in the oven and bake for 20 to 25 minutes. When cooked they will be a lovely soft brown colour and spring back when touched lightly on top.
Butter Cream Icing
Now to the star of the show,
this lovely icing sugar from
Sugar and Crumbs. As soon as you carefully open the bag, you know you have something special here, this icing sugar is so fine that billowy clouds escape as soon as you have a tiny peek and then you are surrounded with the amazing scent of coconut with a little citrusy spike of lime.
Recipe
You don't need a recipe, as such, for a traditional English Butter cream, it is made from equal quantities, measured by weight, of butter and icing (powdered / confectioners) sugar. 250g or 8 ounces of both will give you enough butter cream to pipe swirls on about 12 cupcakes. I live in Gloucestershire, England and the butter here is a gorgeous country yellow. For these cupcakes, I wanted a paler icing, to match the baking cases and also to complement the citrus shades of the decorations I was using, so, I used a mix of half butter and half vegetable fat (Trex / Crisco).
Method
You need to make sure the butter is really soft before you start. You can soften butter by leaving it at room temperature for a couple of ideas, or microwave it on low power. Once softened, put the butter in the bowl of a stand mixer, with the "K" beater attached and give it a good beat round for a couple of minutes before you start. This is just to make sure it is soft and get it all nice and smooth. You need to sift the icing sugar, to make butter cream, if you don't, any lumps, not only spoil the texture of the butter cream, but, may also get stuck in your piping nozzle / tip later.
I know, you don't need to see pictures of how to sift icing sugar, but, I wanted you to see how fine this icing sugar is.
Just a couple of taps and most of this icing sugar has fallen through the sieve already.
I don't know about you, but, the brand of icing sugar I normally buy has quite a few lumps and I have to work most of it through a sieve with a spoon. Not only is this inconvenient and time consuming, but, it can also be responsible for that grainy texture, you sometimes get with butter cream. Not so with this one from sugar and crumbs, after a few more shakes and taps, there were only these few small lumps in my pack. Practically nothing.
Sift in about half of the icing sugar, then cover your mixer with something, a tea towel usually works well and start mixing, on slow speed until the sugar is incorporated and the clouds of icing sugar have settled down. Then speed up and beat on high speed for a couple of minutes. Repeat with the other half of the icing sugar. Lift your beater and have a look.
If your icing looks like that above, it is not ready yet, put the beater back in and beat on high speed again, till it looks like the picture below. All ready for decorating.
Call back soon if you would like to see how these cupcakes were decorated and find out what I do with the other samples from
Sugar and Crumbs.
Thanks for popping by and please call again soon
Keep up with my latest creations and inspirations in all these places