
I have been looking for an excuse to make a handbag cake for a while, so I was delighted when the Radley Collector Facebook page ran a competition to bake them a Birthday cake and set about designing and making this one. In case you haven't heard of them Radley make the most beautiful handbags and the Radley collector page is their fan site. The Radley company was founded by Lowell Harder, an Australian, who first started selling her bags from a stall in Cambden Market, London in 1984. A particular feature of the bags is the leather scottie dog.

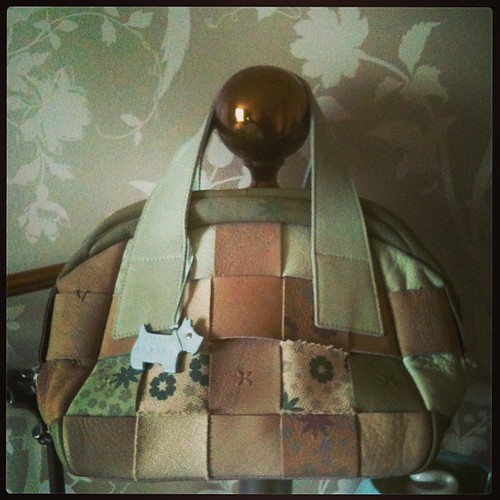
I only had a couple of days to make, decorate and photograph the cake before the closing date, so I needed a design that was simple to make but still look effective, so decided to avoid any risky cake carving and took inspiration from the colours and textures of this one of my Radley handbags.
This is how I did it
I started off, by baking an 8 inch round cake, cutting it in half and sandwiching one half on top of the other with some buttercream and jam, then trimmed the edges level and covered the cake with a crumb coat of buttercream and then with pale blue fondant.
Next, I set about making fondant strips for the basket weave effect on the front of the cake. I found that the easiest way was to roll a sausage of fondant, which I then rolled flat and about 2mm thick with a small rolling pin. It was a humid day, in my kitchen, so you will see quite a bit of icing sugar sprinkled about to stop the fondant getting sticky.

Next I used a ribbon butter to cut the strips, about 2cm wide. This ribbon cutter is by FMM.

To add some texture to some of the strips, I used an embossing mat on the ivory coloured fondant. This one is from the Autumn Carpenter Dress Cookie Cutter Texture set. I haven't used that set for ages, must cake some more dress cookies soon. If you want to take a look at the set in action, take a look at my dress cookies, from ages ago, here.

After cutting plenty of ribbons, it was time to start weaving. The colours I have used here are
Blue - Squires Kitchen Bluegrass
Ivory - Sugarflair caramel/ivory
Caramel - Sugarflair caramel/ivory and Sugarflair Autumn Leaf

Now, time to start weaving. I started with a strip across the bottom, then added the vertical strips alternately laying one on top of the bottom strip and one underneath.

Before laying the next horizontal strip, I carefully folded forwards every other vertical strip, placed the horizontal strip across, then folded back the folded forwards strips and folded forwards the ones that weren't. Sounds complicated, but actually not.

I continued to weave the strips until all of the front was covered. I used a pair of clean kitchen scissors to trim the ends around the curve at the top and then squeezed out some long sausages from my sugar shaper to hide the join and added a matching sausage at the back.

I wanted a zip across the top of the bag. As I don't have a zip mould, I used a cutting tool to mark the zip and a stitching tool to add a line of stitching either side. After all, on a quality bag, the zip is carefully concealed under folds of leather.

I cut out a variety of small sugar flowers and arranged these on the front of the bag to be reminiscent of those on the real bag.

I added some handles with more strips of fondant and a little more stitching detail for added realism.

Now, for the all important Radley dog. I didn't have a dog shaped cutter, so this posed a bit of a challenge. After giving the matter some thought, I used one of my actual Radley handbag dogs to make an impression on some sugar paste, then carefully cut around the shape and used a ball tool to gently soften and neaten the edges.
My Radley is a little large for his bag and if I had the time, or access to a photocopier, I would have taken a reduced photocopy and used this as a template. The writing on the dog is, of course, a mirror image, but it is so small, in real life, I don't think you really notice.

I am really happy with the way this bag turned out. Especially for the first handbag cake I have made. I would have preferred to use an oval shaped cake board, but as I didn't have one to hand, a round one had to do.
That's all for today
Thanks for popping by and please call again soon
Keep up with my latest creations and inspirations in all these places

In case you are wondering, I didn't win the competition, a cake entered by Melli Peakman won. Congratulations, Melli.
No comments:
Post a Comment